

5 Star Reader Comment
I made a batch of these for a football watch party and they were gone before halftime. My neighbor asked for the recipe before she even left my kitchen. These are dangerously easy to keep eating straight from the jar.
Kayla
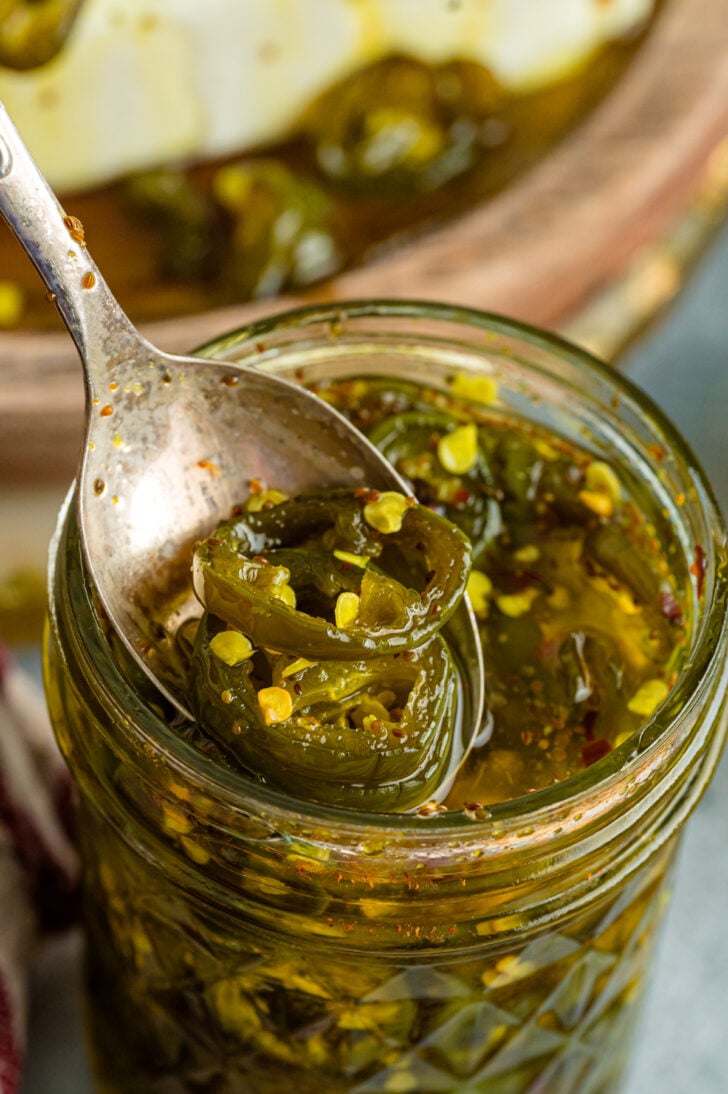
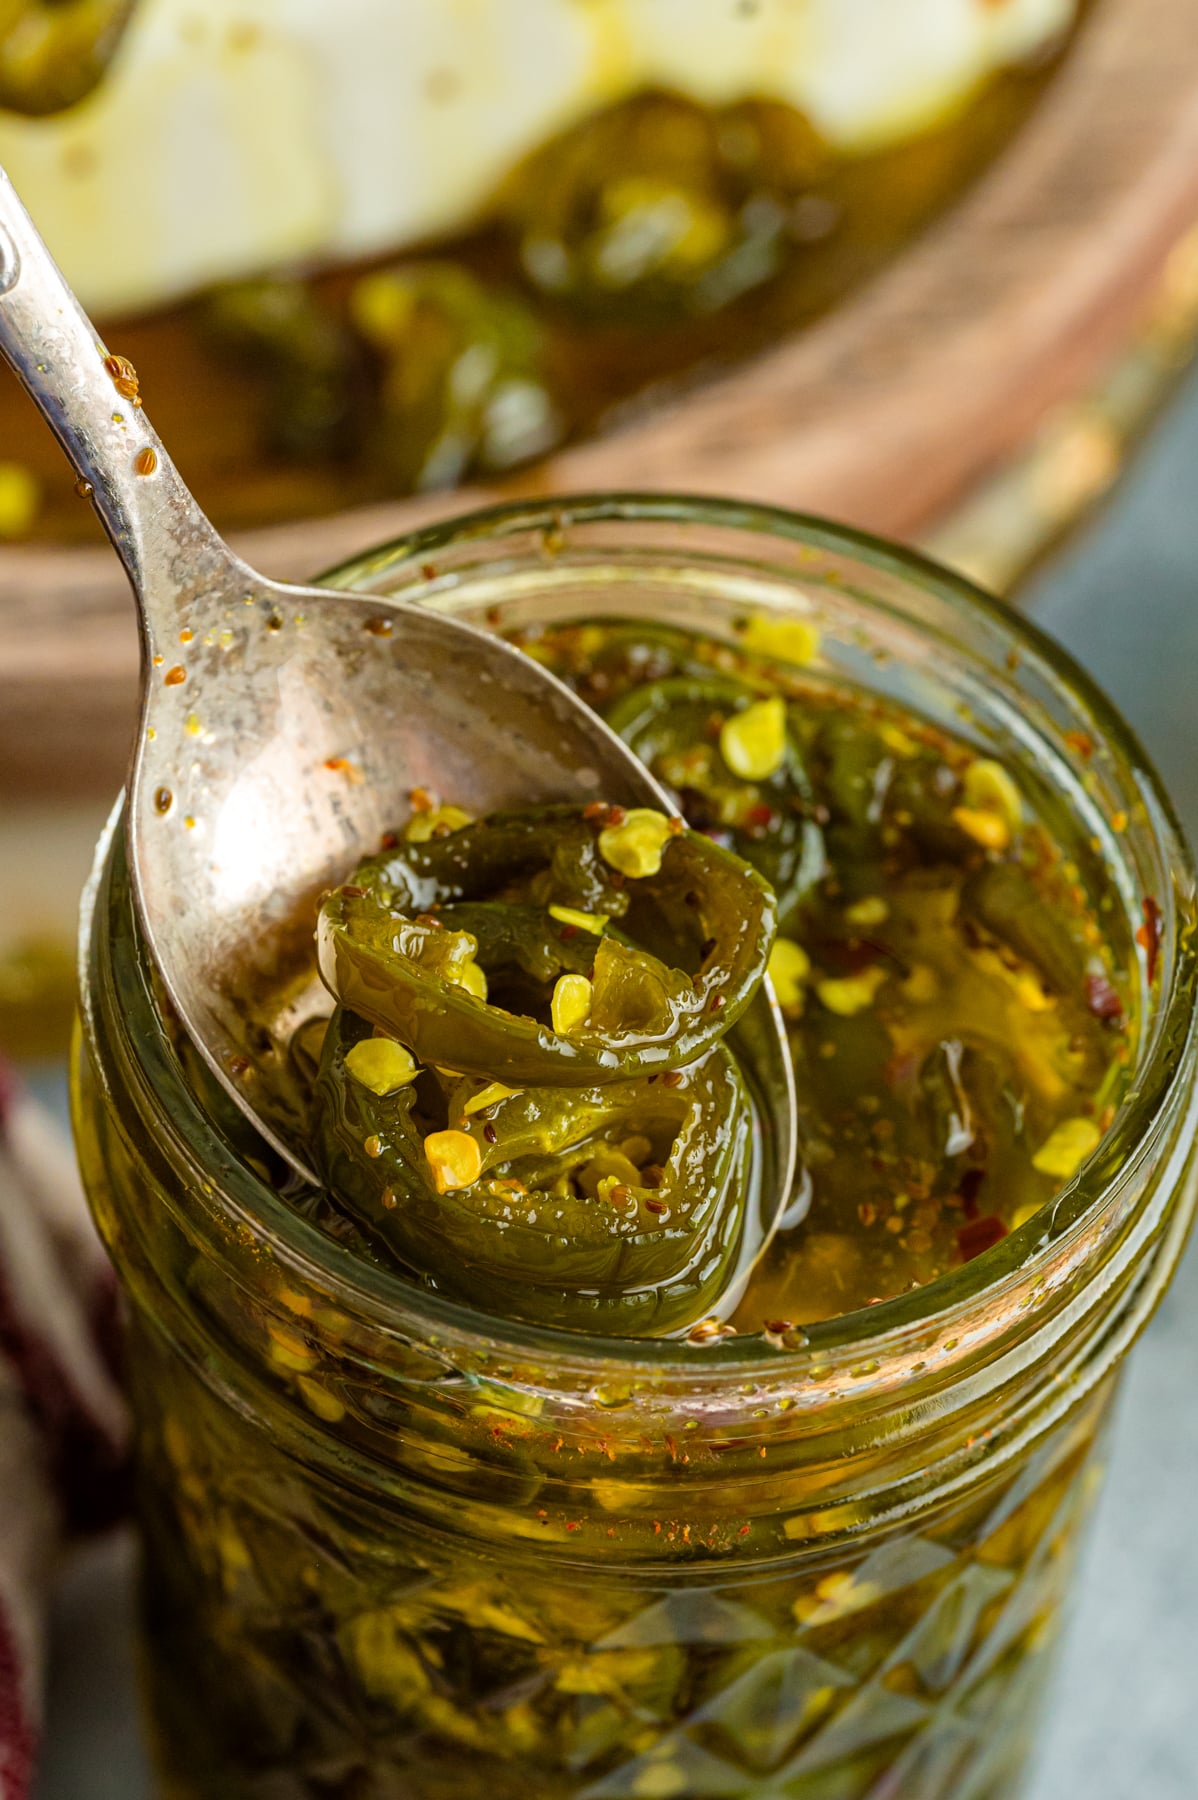
Why I Always Have a Jar of These in My Fridge

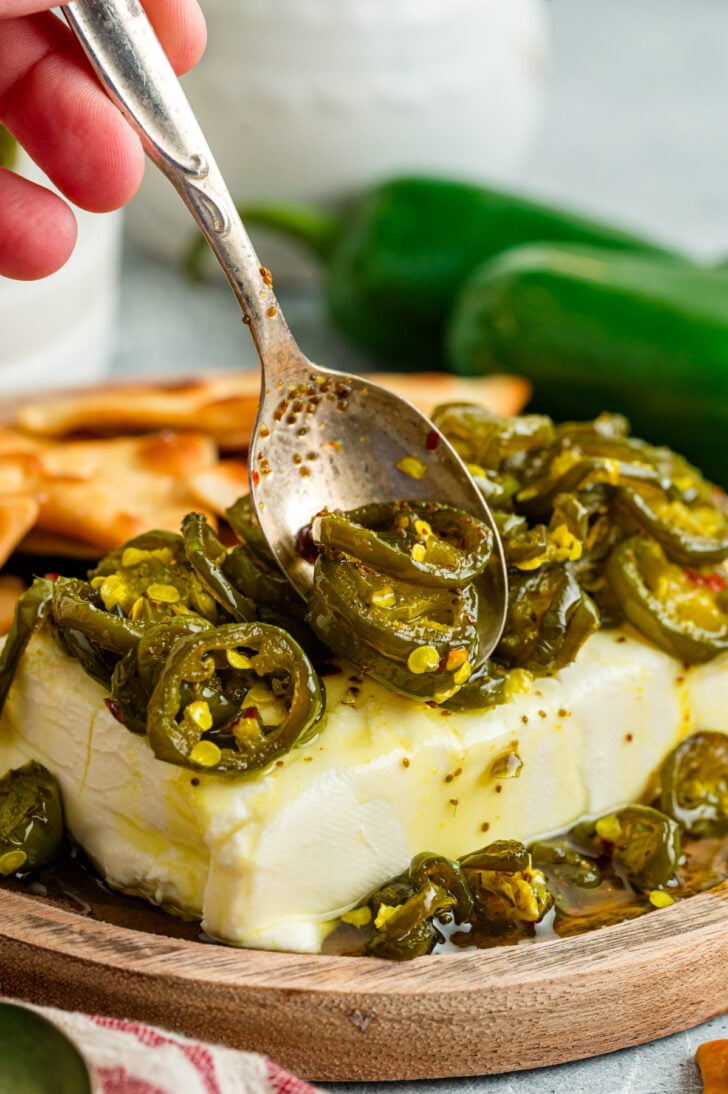
Some recipes earn a permanent spot in the fridge door, and candied jalapeños are one of mine. The first time I made a batch, I put them on a cracker with cream cheese just to try one, and I ended up eating half the jar standing at the counter.
What makes this recipe worth keeping around is how far one small batch stretches. A spoonful on nachos, a few rings on a burger, a scoop on top of baked beans, and suddenly a jar that took 20 minutes to make has flavored an entire week of meals.
If you have questions about how long these actually last, whether you can water-bath can them for the pantry, or why your syrup will not thicken, I am covering every bit of it below.
Enjoy, y’all!

Donya’s Best Tips for Candied Jalapenos
Wear gloves every time: Jalapeno oils cling to your skin long after you are done slicing, and one accidental eye rub will ruin your whole afternoon. Gloves are non-negotiable in my kitchen.
Slice them the same thickness: Uneven slices cook unevenly, so a sharp knife or a mandoline set to a quarter inch keeps every ring candying at the same rate.
Do not skip the wait time: These taste good the day you make them, but they taste better after a few days in the fridge once the syrup has had time to soak all the way through.
Save every drop of syrup: That leftover liquid is liquid gold. Brush it on grilled chicken, stir it into a vinaigrette, or drizzle it over cornbread.
Boil the syrup down before you add peppers: Bringing the sugar and vinegar to a full rolling boil first builds a glossy, slightly thickened syrup rather than a thin, watery one.
Choose your jalapeños with intention: Green jalapeños give you the classic look and moderate heat, while a few red ones mixed in add color and a touch more spice.
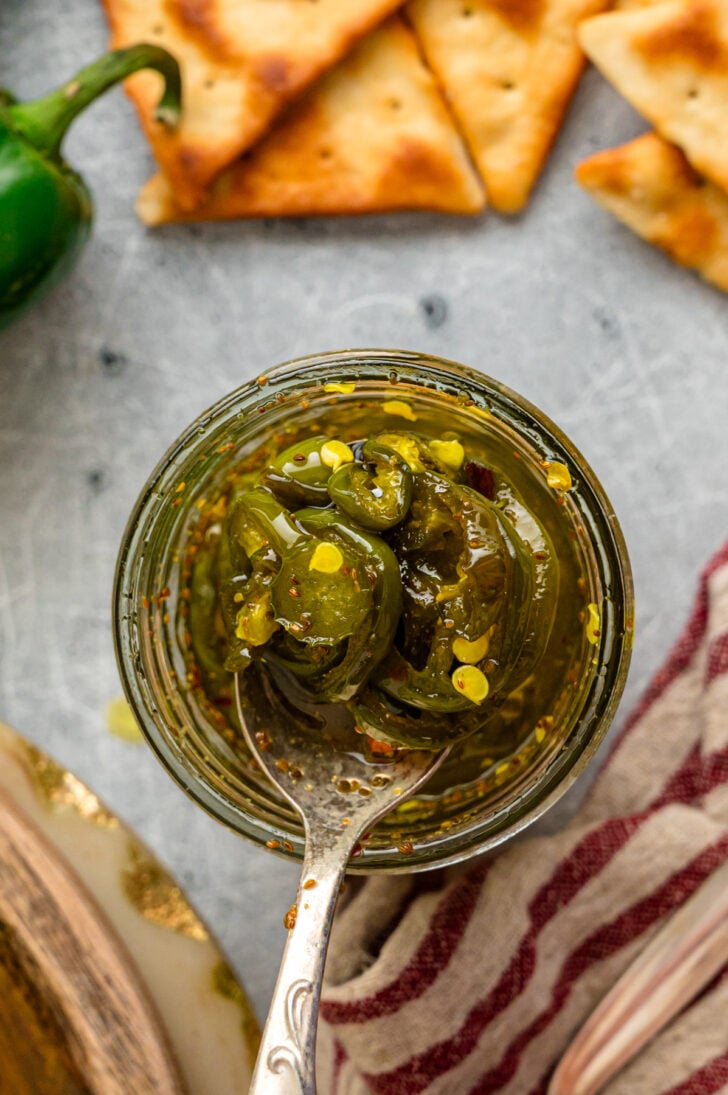
What Goes Into Candied Jalapenos
Fresh jalapeños: The whole point of this recipe, sliced into thin, even rounds so the syrup can work its way through every piece.
White sugar: Builds the sweet, glossy candy coating that gives this recipe its name.
Apple cider vinegar: Brings just enough tang to balance out all that sweetness without overpowering it.
Garlic powder, celery seed, and turmeric: A handful of warm spices that round out the flavor with a little earthiness.
Red pepper flakes: A pinch of extra heat layered on top of the natural spice from the jalapeños.
A Few Ways I Switch This Recipe Up
- Swap in serranos or a couple of habaneros for a batch with real fire behind the sweetness.
- Mix red and green jalapeños together for a colorful jar that is especially pretty around the holidays.
- Stir in a splash of honey along with the sugar for a rounder, less sharp sweetness.
- Add a smashed garlic clove or two straight into the jar for a savory note that builds the longer it sits.
- Use the leftover syrup as a glaze for grilled chicken or brushed over cornbread right out of the oven.
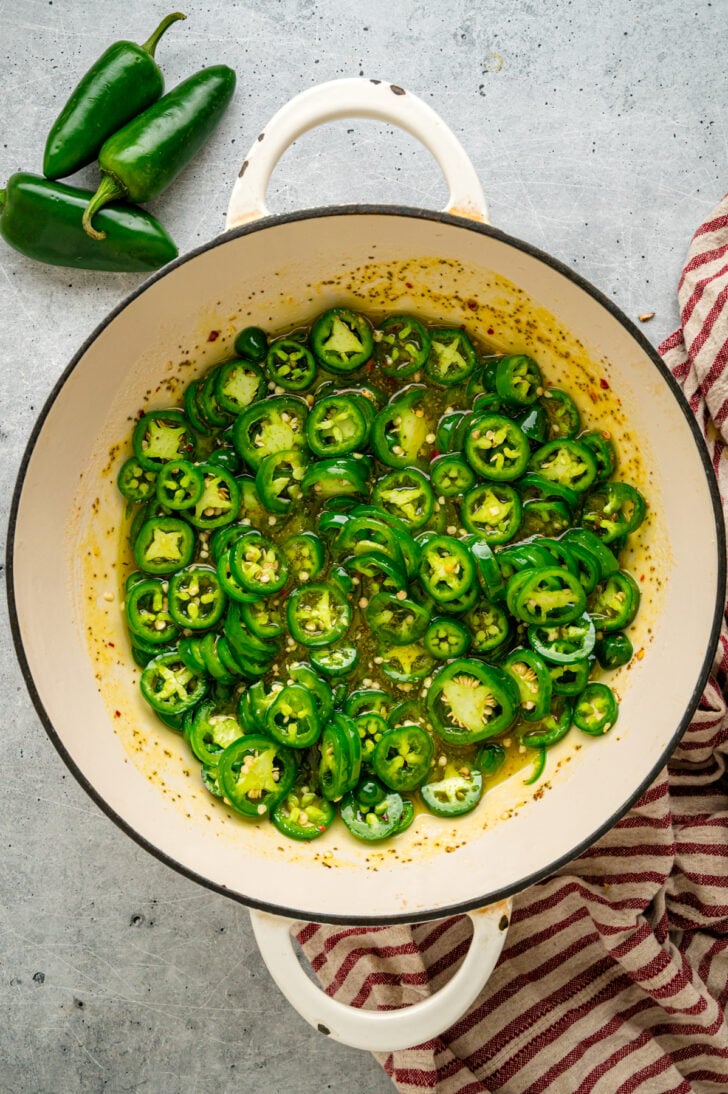
How To Make Candied Jalapenos
Bring your sugar, vinegar, and spices to a boil in a Dutch oven, then let the mixture simmer until the sugar is completely dissolved and the syrup starts to look glossy.
Add your sliced jalapeños, bring everything back to a boil, then reduce to a simmer and let the peppers cook until they turn slightly translucent and shiny.
Use a slotted spoon to lift the jalapeños into clean jars, then let the syrup keep simmering on its own for a few more minutes so it reduces and thickens further.
Pour the hot syrup over the jarred peppers until they are fully covered, then let everything cool before sealing and refrigerating.
For full ingredient amounts and exact cook times, see the recipe card below.
How To Adjust the Heat Level
Jalapeños vary widely in spiciness, even within the same batch, so a little adjustment goes a long way. For a milder jar, slice your peppers in half lengthwise, then scoop out the seeds and membrane before cutting them into rings, since most of the heat is concentrated there. For more heat, leave the seeds in, add an extra pinch of red pepper flakes, or toss in a sliced serrano along with your jalapeños.
Why Your Syrup Might Not Be Thickening
If your syrup is coming out thin instead of glossy, it almost always comes down to timing. The sugar and vinegar need a full rolling boil on their own before the peppers ever go in, which is what starts the reduction process. After you pull the peppers out with a slotted spoon, let that syrup keep boiling for another 5 to 7 minutes by itself. It will thicken more as it cools, so do not judge it while it is still hot on the stove.
Make Them Ahead for Your Next Gathering
These are one of the easiest make-ahead appetizers I keep in my back pocket, especially around game day or the holidays.
Make them at least a week ahead: The flavor only gets better the longer they sit, so this is a great one to knock out well before a party.
Store in the fridge up to 3 months: Keep them in a sealed jar, and they will stay good and ready to go whenever you need them.
Water bath can for the pantry: Properly processed jars will keep for up to a year unopened, which makes this a great one to make in bulk when jalapeños are in season.
Freeze the extras: Let them cool completely, then store in a freezer-safe container for up to 3 months, leaving room at the top for expansion.
More Easy Appetizers You’ll Love


Equipment
- Dutch Oven
Ingredients
- 1 pound fresh jalapeños
- 2 cups white granulated sugar
- ⅔ cup apple cider vinegar
- 1 teaspoon granulated garlic powder
- 1 teaspoon celery seed
- ½ teaspoon ground turmeric
- ¼ teaspoon red pepper flakes
Instructions
- Using food safe gloves and a sharp knife, slice Jalapeños into rounds. Set aside.
- To a medium-size pot or dutch oven, add sugar, apple cider vinegar, garlic powder, celery seed, turmeric, and red pepper. Stir and bring to a boil. Reduce to a simmer and cook for 5 minutes, until sugar is completely melted.
- Add sliced jalapeños and stir. Bring mixture back to a boil, then reduce to a simmer and cook for 5 minutes, stirring every so often.
- Using tongs or a slotted spoon, remove peppers from pot and place into pint jars. Bring remaining liquid up to a boil to reduce mixture, cooking for approximately 5 minutes.
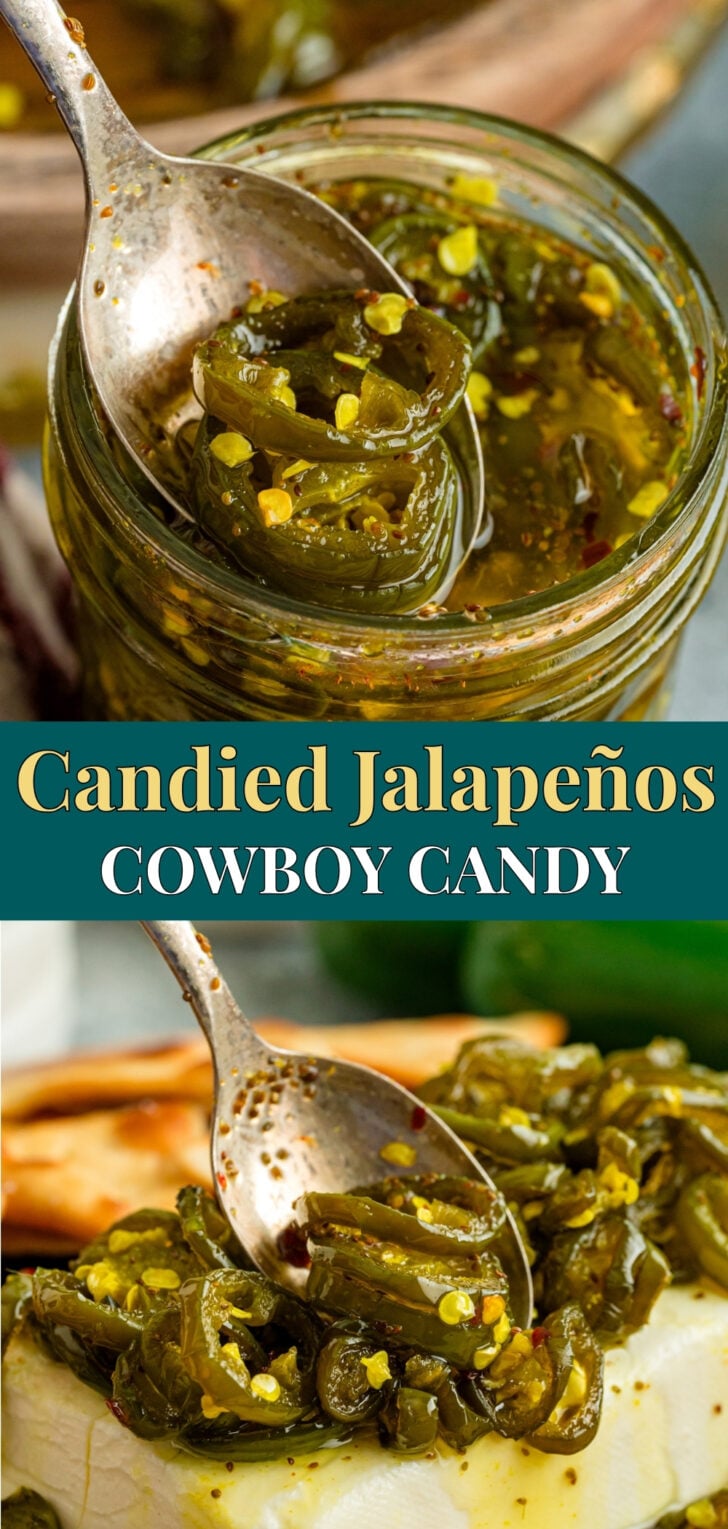
- Carefully pour syrup into jars, over the peppers and let cool. Cover with lid and store in refrigerator. Can be stored for up to three months.
**makes 2 pints
Notes
- Storage: When quick pickling, like this recipe, I like to use jars with matching lids. I also like to use half-pint jars with two-piece lids. These can even be leftover pasta sauce jars with lids. With recipes like this one that don’t require canning, you can use any old jar and lid for storage.
- If you want to make them shelf-stable, you can process them in a traditional water bath, and they’ll last for a year. But again, that’s only if you’ve canned them.
Nutrition
Refrigerator Method or Water Bath Canning: Which Should You Use
Both methods work well, and which one is right for you depends on how long you want them to last and whether you have canning equipment on hand.
The refrigerator method is the simplest route and what I use most often. Once the jars cool, seal them and refrigerate right away. No special equipment is needed, and they are ready to eat within a day, though they taste even better after a week.
Water bath canning is the better choice if you want these shelf-stable in your pantry. Fill sterilized half-pint or pint jars, leaving a quarter-inch headspace, wipe the rims clean, and process in a boiling water bath for 10 minutes for half-pints or 15 minutes for pints, adjusting for your altitude. Let the jars cool undisturbed for 24 hours and check that the lids have sealed before storing them in the pantry.
Commonly Asked Questions
Yes, though the texture will be softer since freezing breaks down the pepper’s structure. Slice them while still frozen, then add them straight to the syrup without thawing first.
No, and I usually leave them in for extra heat since my family likes it spicy. If you prefer a milder jar, slice the peppers in half, then scoop out the seeds and membrane before cutting them into rings.
Stored in the fridge, they will keep for up to 3 months. If you water-bath can them properly, unopened jars last up to a year in the pantry, but once opened, treat them like the refrigerator method and use them within a few months.
Do not pour it out. Use it as a glaze for grilled chicken or pork, stir a spoonful into a vinaigrette, or drizzle it over cornbread or biscuits for a sweet-and-spicy finish.
If you tried this Candied Jalapeño Recipe or any other recipe, please leave a star rating and let me know how it went in the comments below. Thanks!


My New eBook!
Top 25 Viral Recipes
Whether you’re cooking for two, feeding a busy family, or filling your home with friends, I’m cheering you on from my kitchen. I hope this eBook brings you comfort, creativity, and plenty of delicious moments around your table.

5 Days of Fall Cooking: Southern Hospitality Style
GET THIS FREE GUIDE: Cozy seasonal recipes to warm your kitchen and your soul.

I prepared this recipe as a topping for an ambitious honey caramelized pulled pork-homemade ramen bowl. My only complaint is that I only prepared a half-recipe; everyone at the table was stabbing one another with their forks (figuratively) to add more of this candied deliciousness to their bowl.
I made these today, super easy recipe. How long do you normally let them set after canning?
I have not tested this recipe for canning, so I do not have a recommendation. Let me know how things work out.
Thank you so, so much for the outstanding rating!
~Donya
These are so easy and so DELICIOUS! I can’t believe I’ve never come across recipes for this. This is particularly easy and have been making it on repeat. YUM!
Amazing! Quick and easy. Gets raves!
Can you use pickled jalapeños?
I wouldn’t think so and I’ve never tried that.
~Donya
This cowboy candy is amazing and super quick and EASY!
Thanks
Very good
Remove the seeds from the jalapeños to make the recipe less spicy. With the seeds I would put the spice level at a 7 out of 10. To much for me. Without the seeds it’s more like a 2-3 out of 10.
Do you think this recipe could be made with habaneros? I have a ton of them from my garden!
Hey there Faye!
Thank you so much for your interest in this recipe, these candied jalapenos are super easy to make, I think you’re really going to love them! I’ve never actually tried this recipe with habaneros, but I think it would work perfectly, you should totally give it a try I’d love to hear how everything turns out! Let me know if you have any other questions, I hope you enjoy the recipe!
~Donya
Hi Faye, we used habaneros last year and turned out great!
I just made two wide mouth pints using two pounds of homegrown NC jalapeños. I removed the core seeds and membrane using a melon baller on about half of the two pounds. It’s plenty hot. Now I’m gonna water bath those two pints and get the jalapeños off my hands. Thanks for the recipe.
Hey there Freida!
Wow! It sounds to me like you made great use of this season’s homegrown jalapenos, canning this recipe as a terrific idea so you can enjoy it throughout the winter! Thank you so much for your kind words of support, I am so happy to hear that you enjoyed this recipe! If you like this one, you should check out my Cucumber and Onion Refrigerator Pickles, it’s another perfect recipe for saving and storing those delicious garden-fresh summer veggies. Please let me know if you ever have any questions about a recipe, I’m always happy to help!
~Donya
Hi Donya, do you think this recipe would freeze well?
Hey there Elaine!
That is a great question! I’ve never personally tried freezing this recipe, so I’m not entirely certain what the texture would be like after defrosting. That being said, what I would do is defrost it at room temperature for a couple hours, and then partially submerge your mason jar of candied jalapenos in a water bath over a low heat, this will re-melt the sugar and it should return the recipes to it’s original texture. Please let me know how everything turns out if you give it a try, I’m very curious. Thank you so much for your interest in this recipe and for your fantastic rating, I really hope you enjoy!
~Donya