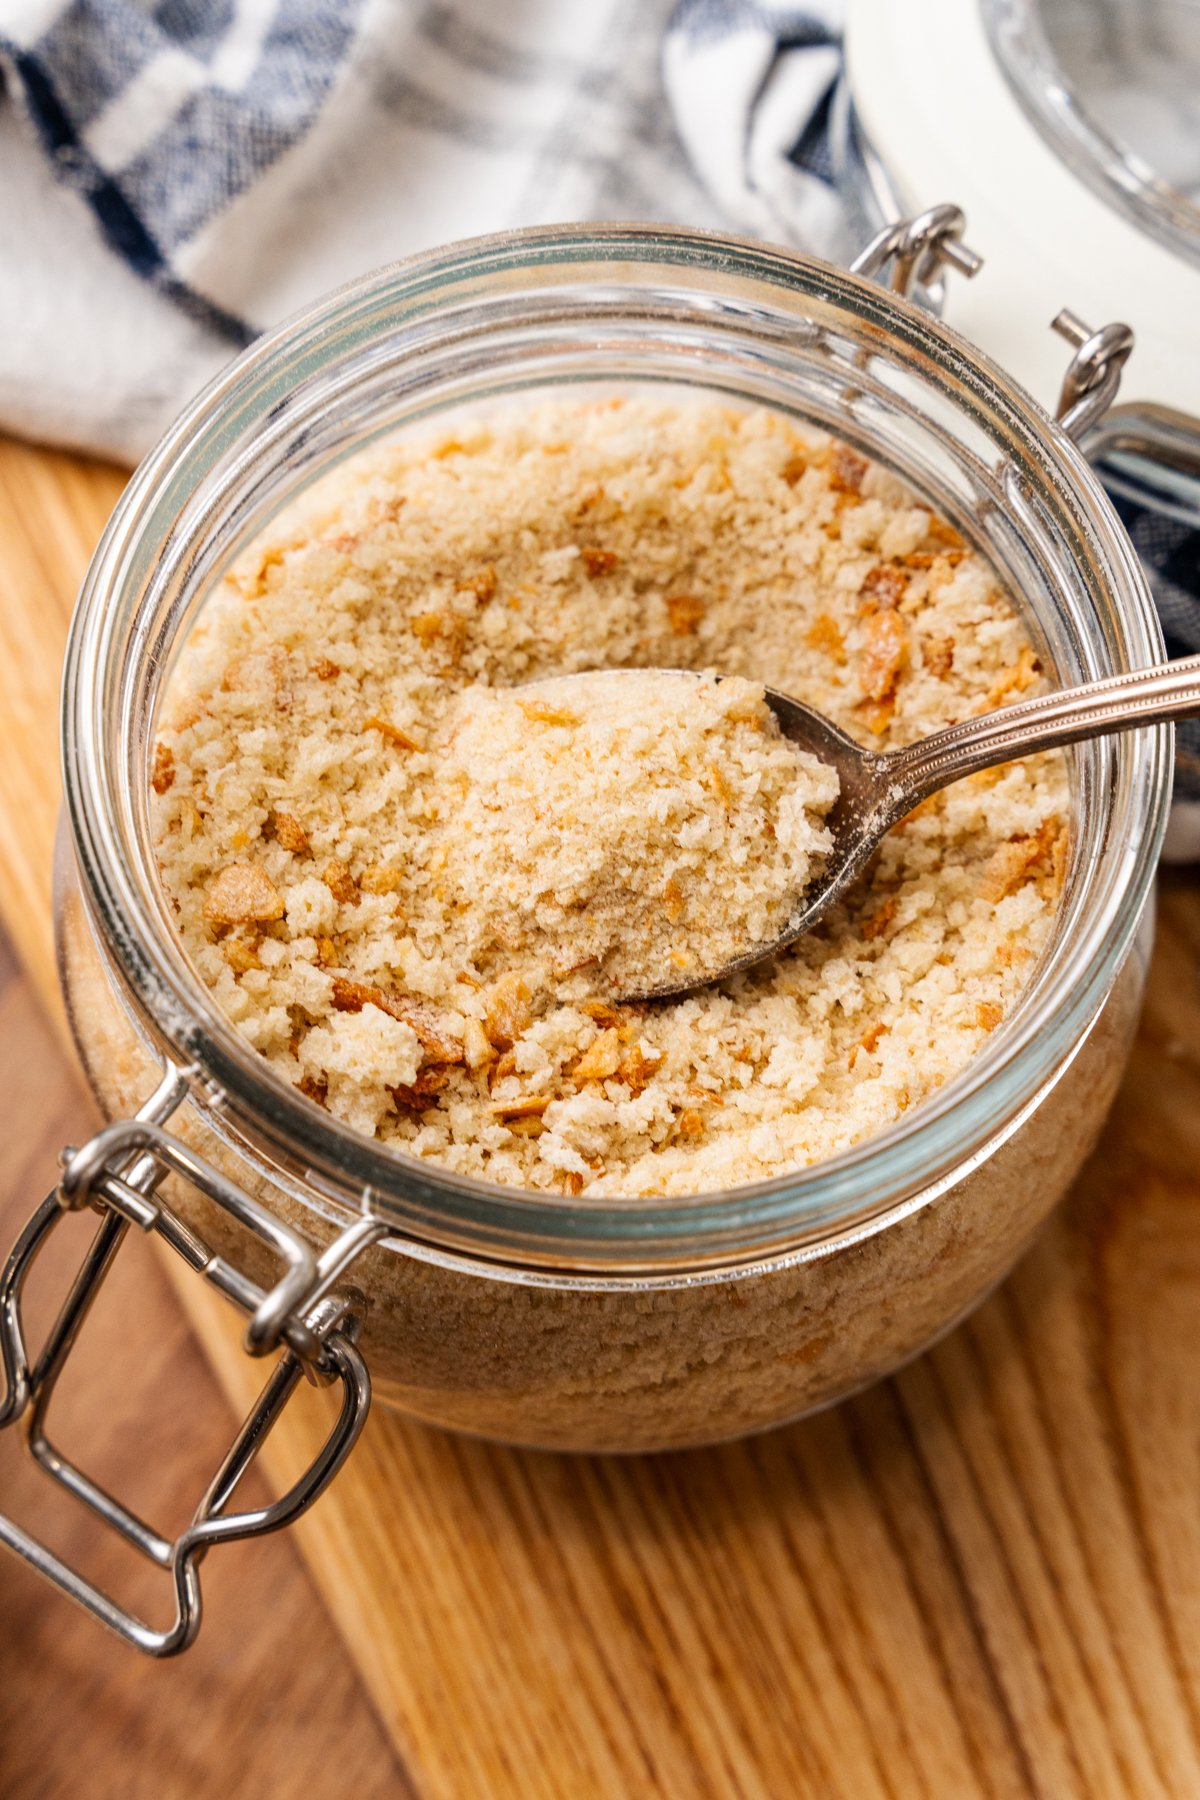
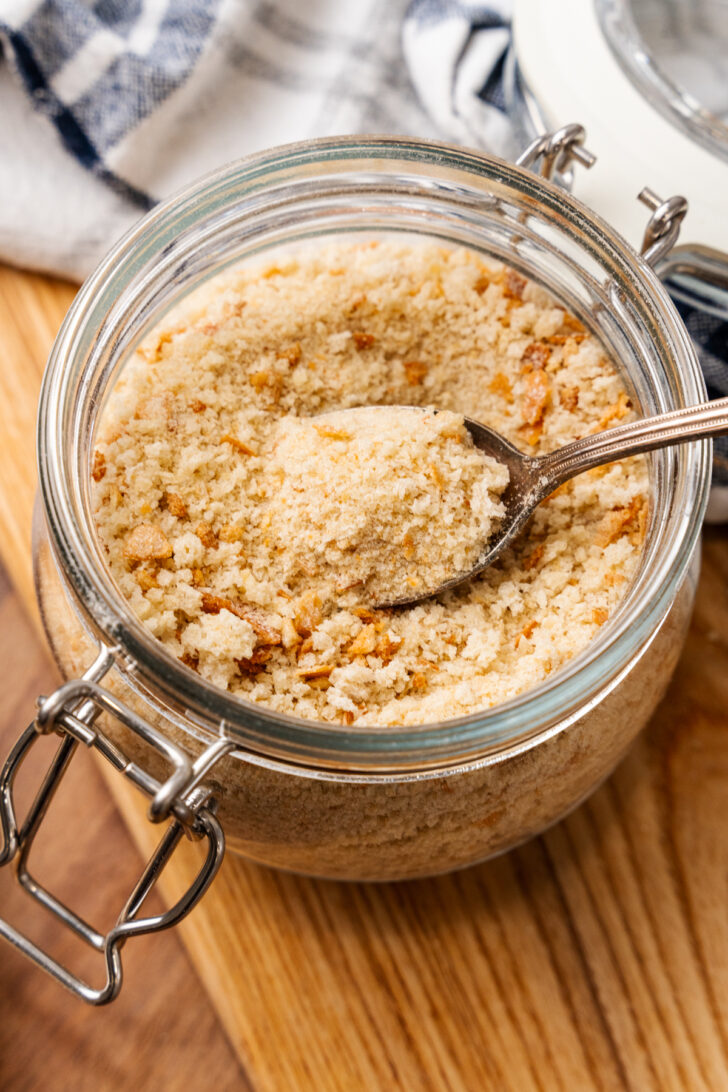
If you’ve gone to the pantry only to find out you don’t have breadcrumbs for a recipe, it’s time to learn to fix that! Learn How To Make Breadcrumbs and avoid wasting day old bread or throwing away that one small, slightly hard end of a baguette. It’s so easy!

In This Post
Yummy, toasted, golden brown breadcrumbs are the crowning glory of many of my favorite dishes. There have been times while cooking when I’ve gone to the pantry to pull out a bag of those crispy crumbs, but they were nowhere to be found. Well…no more! I’ve taken charge of things and now make my own breadcrumbs.
Why You’ll Love Making Your Own Breadcrumbs
- Feel Confident – Nothing boosts your confidence like whipping up your own recipe components and not stressing about missing one ingredient.
- Outstanding Flavor – Homemade breadcrumbs have a fresher, more robust flavor compared to store-bought ones.
- Save Money and Time – There’s no need to buy or run to the store for breadcrumbs when you already have bread in your pantry!
Once you have breadcrumbs, use them to make Easy Homemade Meatballs, Homemade Baked Cheesesticks, and Easy Broccoli Casserole!
Homemade Breadcrumbs Ingredients

- Bread is all you need to make bread crumbs! I like to save stale and fresh bread in a large Ziplock bag throughout the week or month. Store these in your fridge until you’re ready to make breadcrumbs.
What Kind Of Bread Can I Use?
You can truly use any kind of bread! I’ve even used leftover Beer Bread and Garlic Knots that I just didn’t have the heart to throw away. Texture is your friend for breadcrumbs, so I think keeping the crusts on is important so that you get different textures once the bread is processed.
Step By Step Directions

- Heat your oven then tear the bread into small chunks and place them on a baking sheet. Don’t worry, you don’t need to prep the pan – this is a super easy recipe. Put the pan in the oven and toast the bread for 20-30 minutes until the pieces are dried out. Remove it from the oven and let it cool.
- Place the toasted bread in a food processor. Pulse until bread becomes small crumbs or the desired texture. This step may be repeated based on how much bread you have. Use in a recipe or store until you are ready to use.
How Long Do Homemade Breadcrumbs Last?
Bread crumbs can be stored in an airtight container in a cool place for up to 6 months or up to 1 year in a refrigerator or freezer.

Frequently Asked Questions
Just work in batches! I usually let my blade run for a few seconds at a time, then stop and check on everything to ensure consistency.
Yes, if you’d like extra dry breadcrumbs, you can put them out on a sheet pan and let them air dry for about 45 minutes before storing.
Certainly! You can toss them with any dried herbs like Cajun, Italian seasoning, and basil! Italian breadcrumbs are one of my favorites!
Yes, you can put all the toasted bread in a large plastic bag and crush it with a rolling pin. It won’t be as consistent in size, but it’s still tasty!
How To Use Fresh Homemade Breadcrumbs
These can be used to make everything from side dishes to mains. I use them in my squash casserole and as a topping for my family’s favorite pasta bake. It’s also fun to season them with herbs, roasted garlic and cheese to add a little extra flavor.

Pin This Recipe
More How To Guides
If you tried this Homemade Breadcrumbs Recipe or any other recipe, please leave a 🌟 star rating and let me know how it went in the comments below. Thanks!
Equipment
Ingredients
- Stale or unused bread
Instructions
- Heat oven to 300 degrees.
- Tear bread into small chunks and place on a baking sheet. Put pan in oven and toast bread for 20-30 minutes until bread is dried out. Remove from oven and let cool.
- Place toasted bread in food processor. Pulse until bread becomes small crumbs or desired texture. ***This step may be repeated based on how much bread you have.
- Place bread crumbs into an airtight container. May be stored in a cool dry place for up to 6 months or 1 year in refrigerator or freezer.

Donya's Top Ten Summer Recipes!
Steal my favorites for a done-for-you menu that packs in the flavor
